
From Herbs to Salves: How to Make Herbal Infused Oils
Herbal infused oils are one of the simplest ways to transform herbs into preparations for topical use.
An infused oil is made by allowing plant material to steep in a carrier oil, such as olive oil, so that oil-soluble plant constituents move into the oil. The finished oil can be used on its own for massage and skin care or become the foundation for preparations such as salves and balms.
Unlike tinctures, which use alcohol and water to extract a broad range of constituents, infused oils primarily capture oil-soluble constituents.
For beginning medicine making, I generally recommend working with properly dried herbs. Moisture introduced into oil increases the potential for microbial growth and spoilage. Fresh-plant oils require additional knowledge about moisture management and aren't simply interchangeable with dried herbs.
Choosing Your Carrier Oil
The carrier oil becomes part of the finished preparation, so its qualities matter too.
Olive oil is one of the traditional and most accessible choices. It is relatively stable and works beautifully for many herbal preparations.
Other options include:
Sweet almond oil — lighter and easily spread over the skin
Jojoba — technically a liquid wax and particularly stable
Coconut oil — nourishing but becomes solid at cooler temperatures
Avocado oil — rich and heavier on the skin
You can use a single carrier oil or create a blend.
Method 1: Traditional Passive Infusion
This is the beautifully simple method that has been used by herbalists for generations.
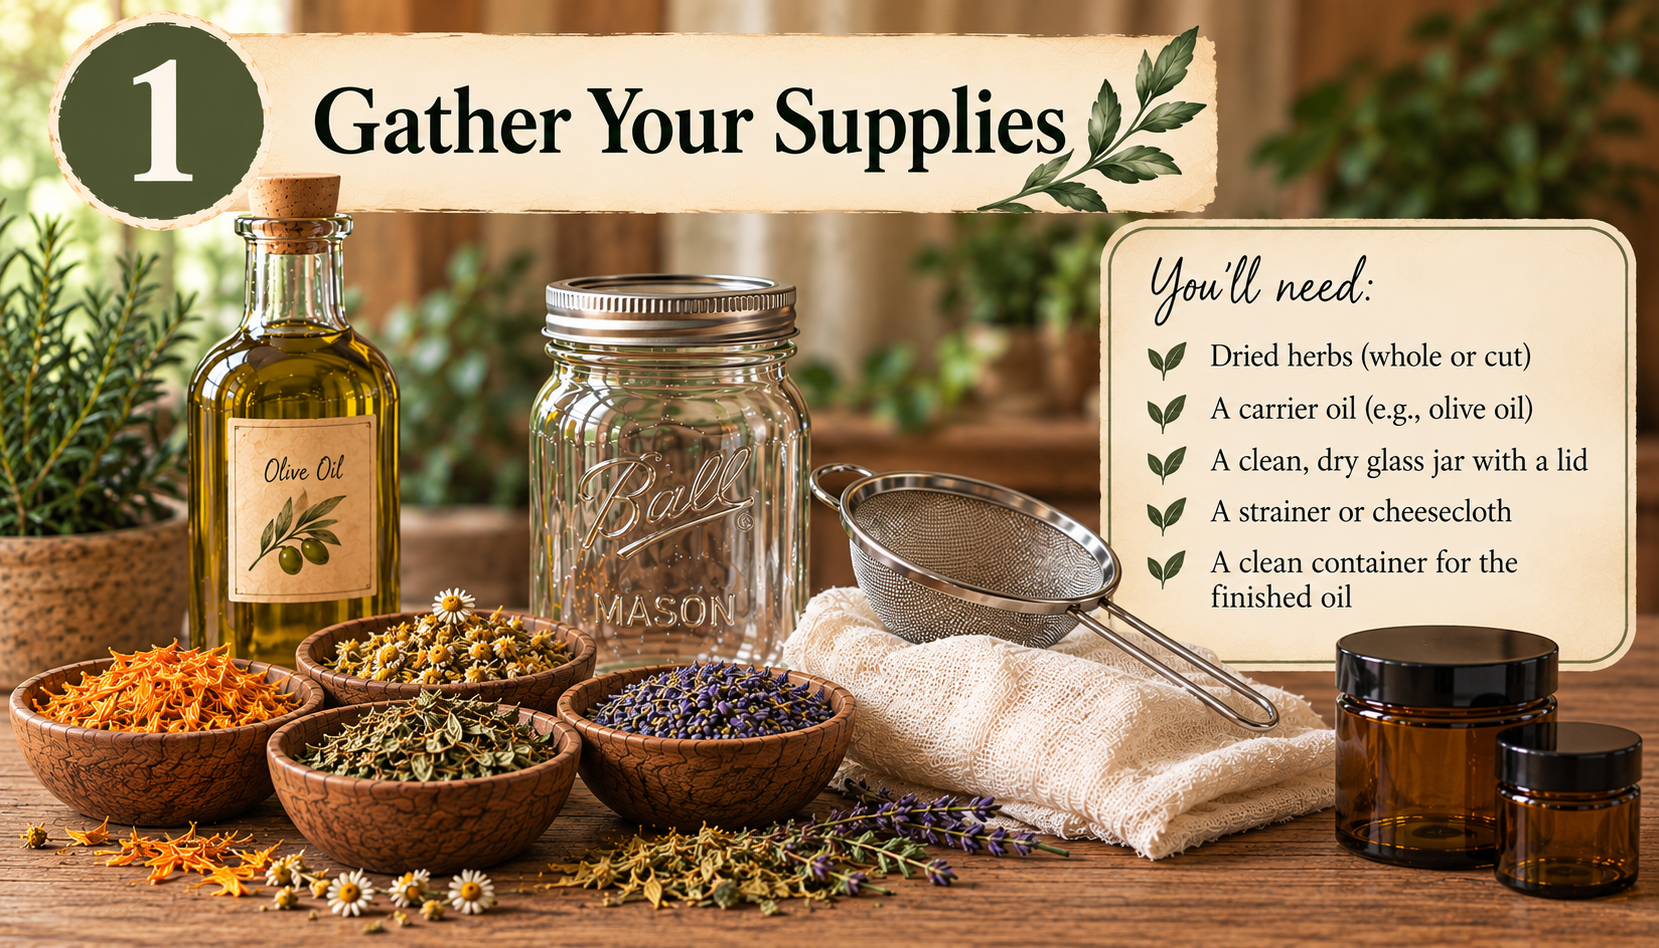
You'll Need
Dried herbs
Carrier oil of your choice
Clean, completely dry glass jar
Strainer or cheesecloth
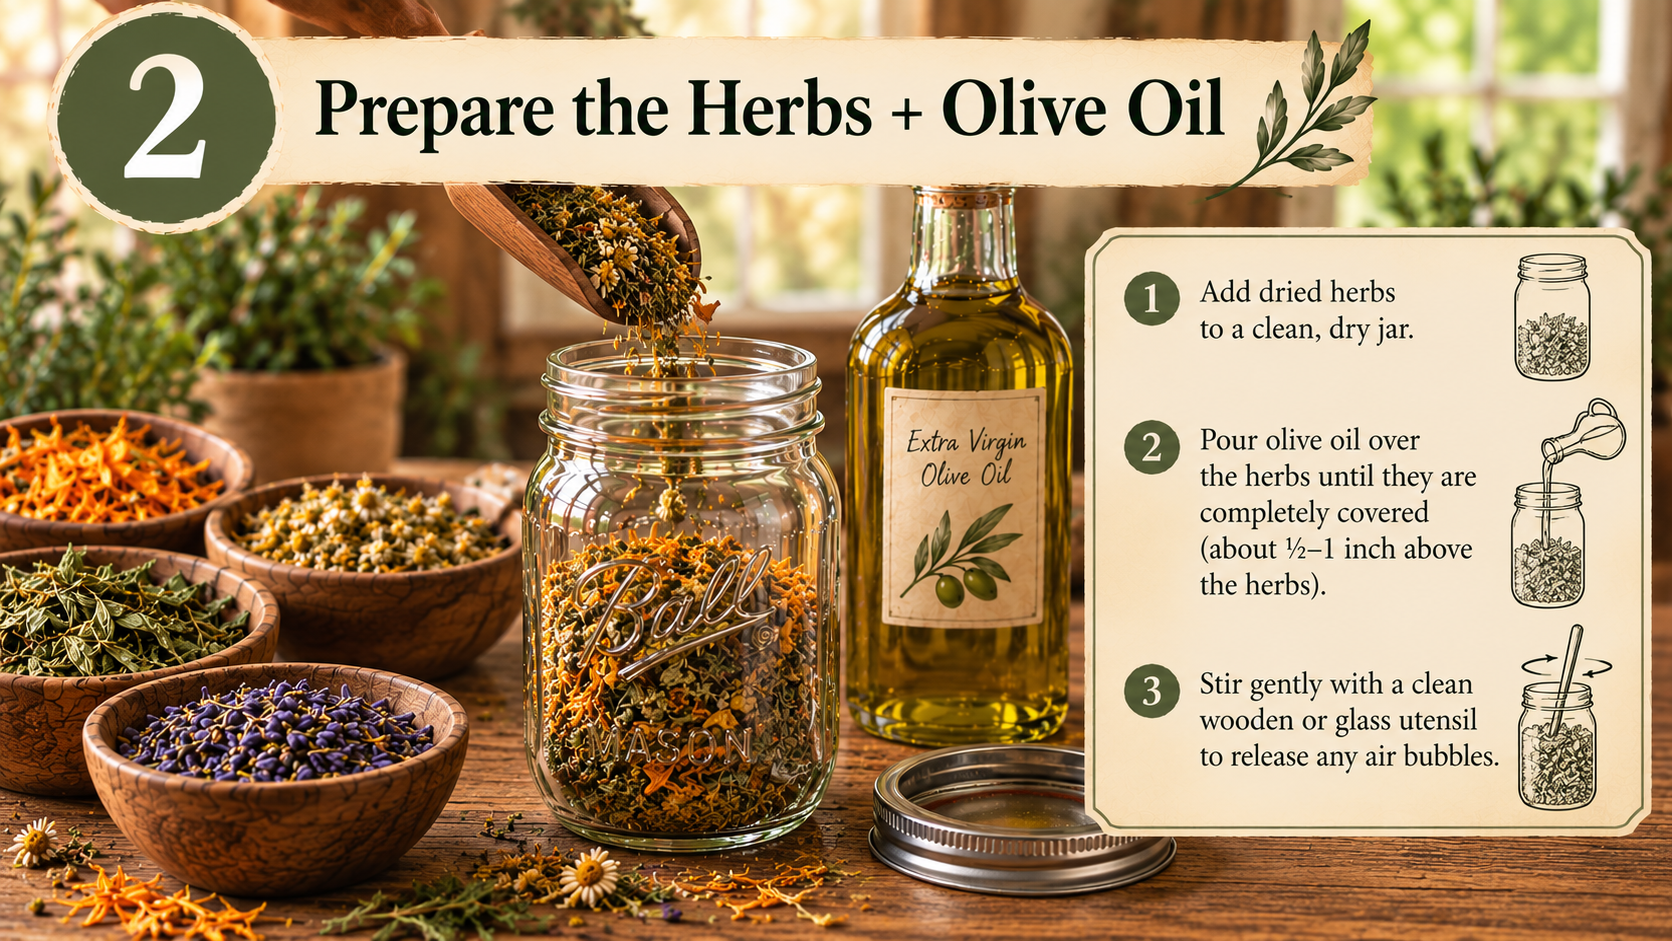
Place your dried herbs into your jar.
For a simple preparation, fill the jar approximately ½ full with dried herbs.
Pour your carrier oil over the herbs until they are completely submerged, with roughly an inch of oil covering the plant material.
Stir thoroughly with a clean, dry utensil to release trapped air bubbles and make sure all of the plant material is saturated.
Close and label the jar with:
Herb
Plant part
Carrier oil
Date prepared
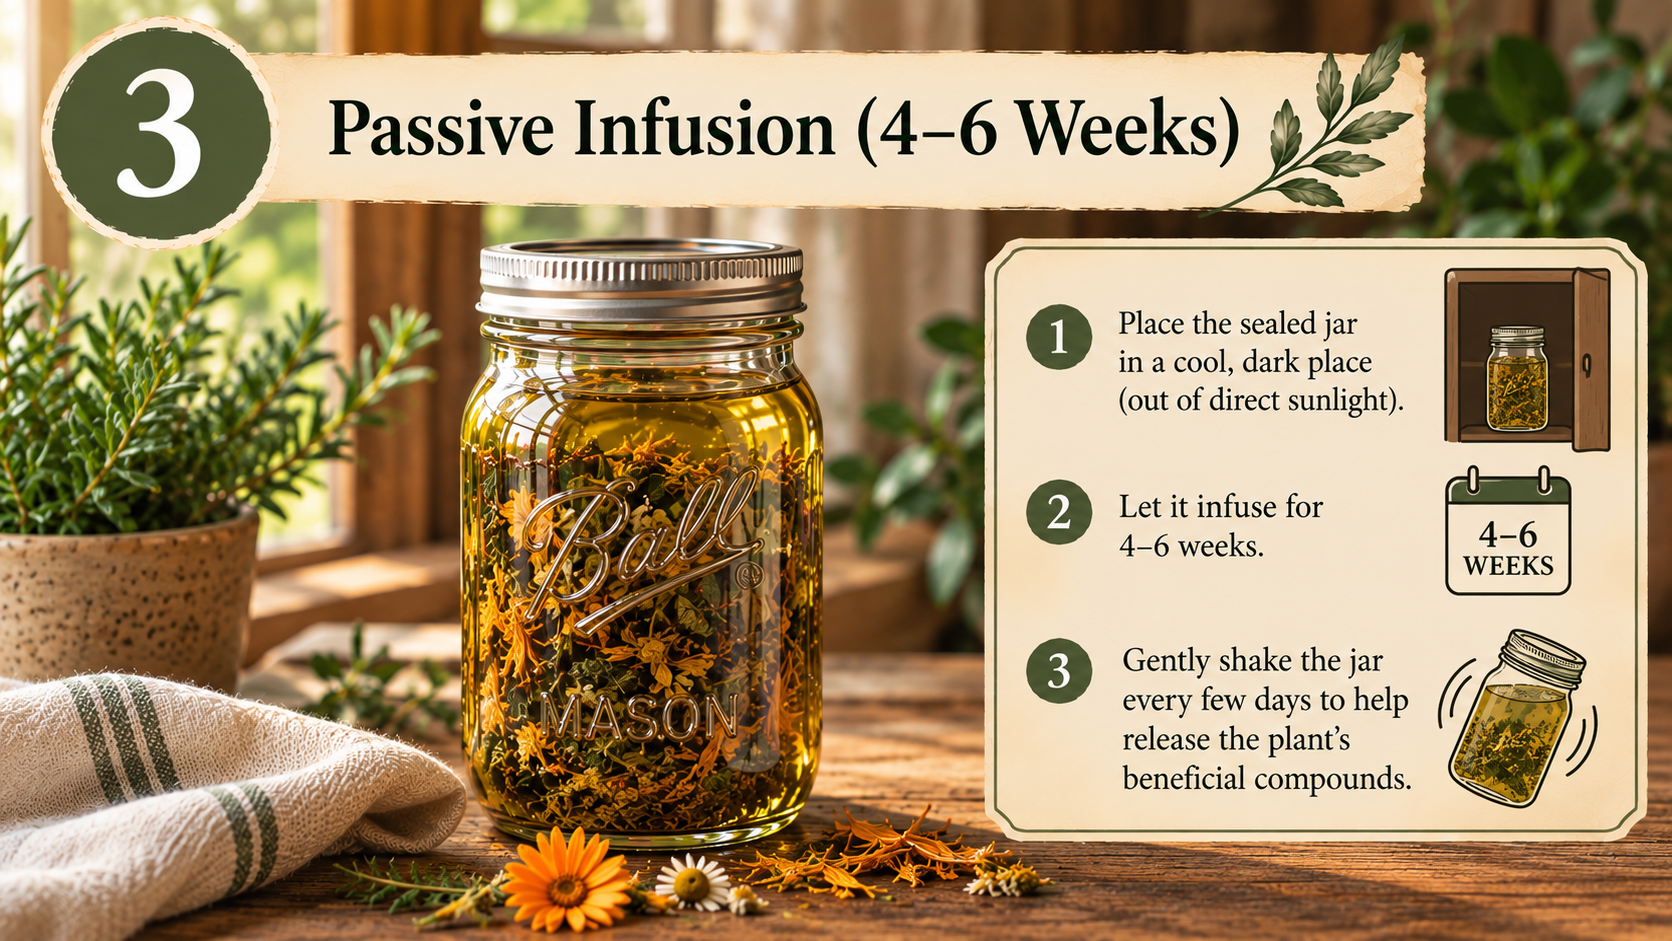
Then place the jar somewhere warm and out of direct sunlight.
Allow it to infuse for:
4–6 weeks
Gently shake or roll the jar every few days and check that the herbs remain covered by oil.
This slow infusion gives the oil time to gradually extract the oil-soluble constituents of the plant.
Straining Your Infused Oil
After 4–6 weeks, it's time to separate the herbs from the oil.
Place cheesecloth or a fine strainer over a clean, completely dry container and pour the mixture through.
Gather the herbs in the cloth and press or squeeze them thoroughly to recover as much oil as possible.
For an especially clean finished oil, you can allow it to settle and filter it again to remove fine plant sediment.
Transfer your finished oil into a clean, dry bottle and label it with the herb, carrier oil, and dates of preparation and straining.
Store the oil protected from excessive heat, light, and moisture.
Method 2: The Quick Heat Infusion
Sometimes you don't want to wait six weeks.
Gentle heat speeds the movement of plant constituents into the oil, allowing an infused oil to be prepared much more quickly.
The important word here is gentle.
We aren't frying the herbs or boiling the oil.
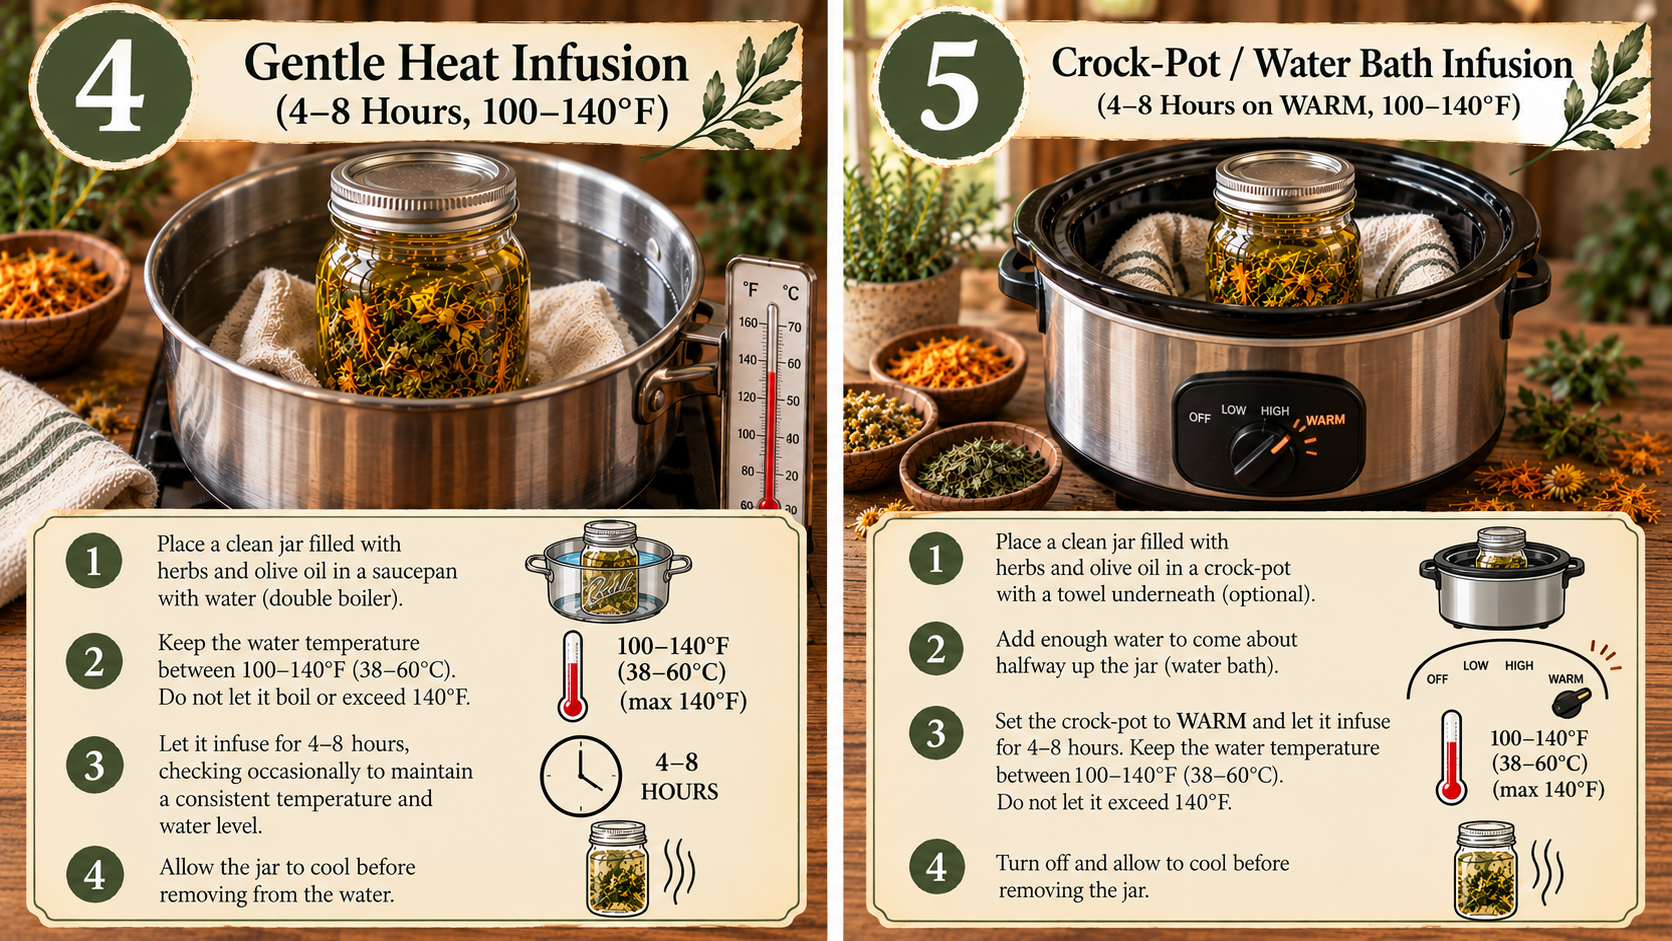
A double boiler or controlled water bath allows us to warm the oil without exposing it directly to high heat.
Quicker Double-Boiler Method/Crock Pot Method.
Combine your dried herbs and carrier oil in the upper portion of a double boiler.
Make sure the herbs are thoroughly saturated with oil.
Heat gently for approximately:
2-5 hours should be plenty. (you can also heat for 30-40 mins and then allow to infuse passively in a dark place for a few 4 weeks as the previous method)
Keep the oil around 120–140°F (49–60°C) and avoid allowing water or condensation to enter the oil. For some really delicate herbs, even 95-100°F should be enough.
Then remove it from the heat, allow it to cool enough to handle safely, and strain and bottle it just as you would a passive infusion.
Crock-pot/Water Bath Method
A longer low-temperature method can also be used.
The herb and oil can be kept gently warm in a controlled water bath for approximately 4–8 hours, again keeping the oil around 100–120°F (no hotter than 140°F). I love using my crock pot for this method set to warm. Place a wash cloth on the bottom under the jar. Just make sure to test the temps as each crock pot is slightly different.
Passive or Heated: Which Is Better?
Neither method is automatically “better.”
The traditional method is wonderfully simple and requires almost no equipment beyond a jar and patience.
The heated method is useful when an oil is needed more quickly and can also help with tougher plant material.
Either way, the goal is the same:
Herb + Carrier Oil + Heat/Time = Herbal Infused Oil
And once you have your infused oil, you can take the preparation one step further.
Turning an Infused Oil Into a Salve
A salve is essentially an herbal infused oil that has been thickened with wax.
One of the most traditional choices is beeswax.
Beeswax gives the preparation enough structure to stay solid in a tin or jar while still melting when it comes in contact with warm skin.
A very useful starting formula is:
1 cup infused herbal oil + 1 ounce beeswax
This produces a medium-consistency salve and can be adjusted depending on your preference. More beeswax creates a firmer balm; less creates a softer salve.
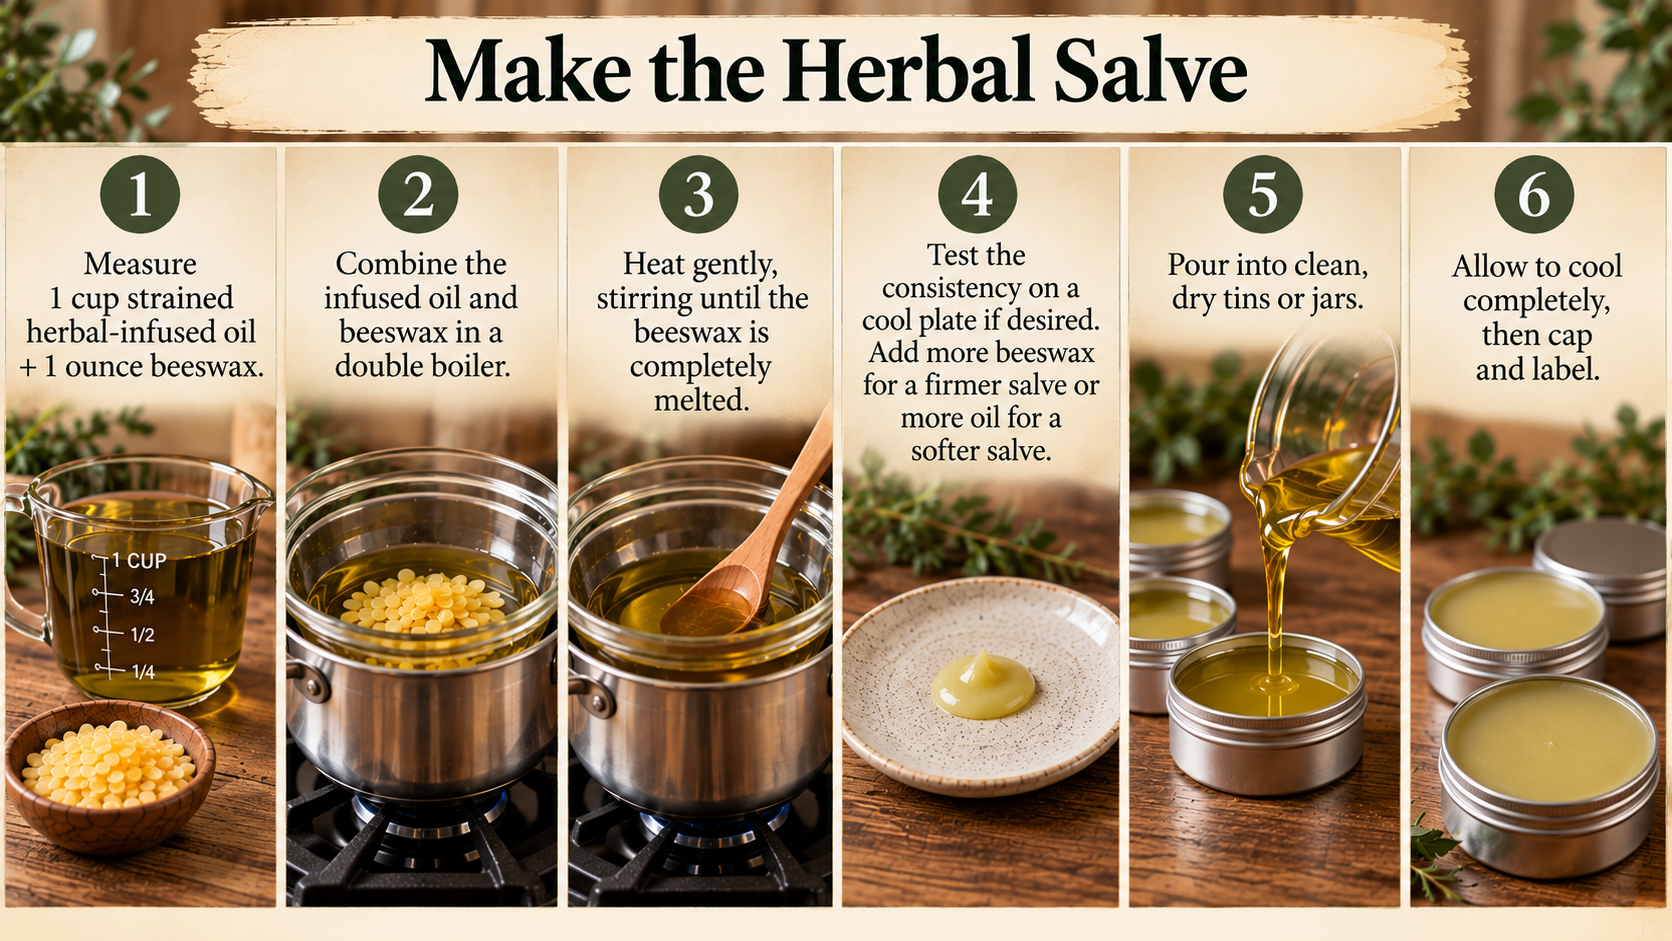
Basic Herbal Salve
You'll Need
1 cup strained herbal infused oil
1 ounce beeswax
Double boiler (I love mason jars for this because you can just put it into a pot of boiling water and voila! you have your double boiler)
Clean, dry salve tins or small jars (bonus if you’re using the mason jar you’ll be storing your salve in as the jar you make your salve in…)
Place the infused oil and beeswax into the top of your double boiler, or your jar.
Warm gently, stirring occasionally, until the beeswax has completely melted into the oil.
Once everything is thoroughly combined, remove it from the heat.
Carefully pour the warm mixture into your tins or jars if needed.
Allow the salve to cool completely before placing the lids on.
That's it!
Infused Oil + Beeswax = Herbal Salve
Adjusting the Texture
One of the nice things about making salves is that you can adjust the consistency.
If you prefer something softer and creamier, use slightly less beeswax.
If you want a firmer balm—perhaps something that needs to remain solid during warmer weather—use slightly more beeswax.
You can test the consistency before pouring the entire batch.
Place a small spoonful of the warm mixture onto a cool plate and allow it to solidify for a minute or two, or even keep in in the spoon iteself.
Rub it between your fingers.
Too soft? Add a little more beeswax.
Too firm? Add a little more infused oil.
Rewarm gently and test again.
